
Tired of wrestling with your shoelaces, feeling like you’re battling a tangled beast instead of just prepping for your day? We’ve all been there. Those seemingly simple strings can transform into a elaborate knot of frustration, eating up precious minutes and leaving you feeling defeated before you even leave the house. But what if we told you there was a secret weapon, a humble household item, that could revolutionize your lacing game? Prepare to ditch the finger fumbles and embrace a surprisingly swift and satisfying solution: the straw.You might just find yourself wondering why you haven’t been using this clever trick all along.
Table of Contents
- Speed Lacing Unveiled The Straw Secret
- Embrace the Tube A New Eyelet Navigator
- Choosing Your Straw From Sip to Slip Knot Savior
- Threading Made Effortless A Smooth Path to Secured Soles
- Optimize Your Technique Beyond Beginner Speed
- Straw Lacing Troubleshooting Tips for Common Hurdles
- Q&A
- Insights and Conclusions

Speed Lacing Unveiled The Straw Secret
The beauty of this “Straw Secret” lies in its adaptability. Whether you’re dealing with thick hiking boot laces or delicate ribbon laces for your favorite sneakers, the principle remains the same. Here’s the breakdown:
- Cut a straw: Select a sturdy straw and cut it in half or into a shorter segment (around 2-3 inches),so it can be managed easily during lacing.
- Thread the lace: Simply push the shoe lace through the straw’s cavity, using it as a guide.
- Guide through eyelets: Slide the straw and lace through the shoe eyelets.
- Remove the straw: Gently remove the straw, leaving the lace perfectly threaded.
Want to know how the straw method compares to traditional lacing? Here is a rapid overview:
| Method | Speed | Ease | Ideal For |
|---|---|---|---|
| Straw | Very Fast | High | All lace types |
| Traditional | Slow | Medium | Standard laces |
| Lace Locks | Fast | Medium | Active shoes |

Embrace the Tube A New Eyelet Navigator
Forget fumbling with frayed laces and tiny eyelets! We’ve all been there, wrestling shoelaces, especially with impatient little ones (or grumpy adults trying to catch the train!). But what if I told you the secret to warp-speed lacing was hiding in your kitchen drawer? Yes, my friends, we’re talking about the humble drinking straw.
The concept is elegantly simple. Thread your shoelace through the straw, creating a makeshift needle.The straw then acts as a guide, effortlessly sliding through even the most stubborn eyelets. No more pinched fingers or strained eyes! Here’s a quick visual:
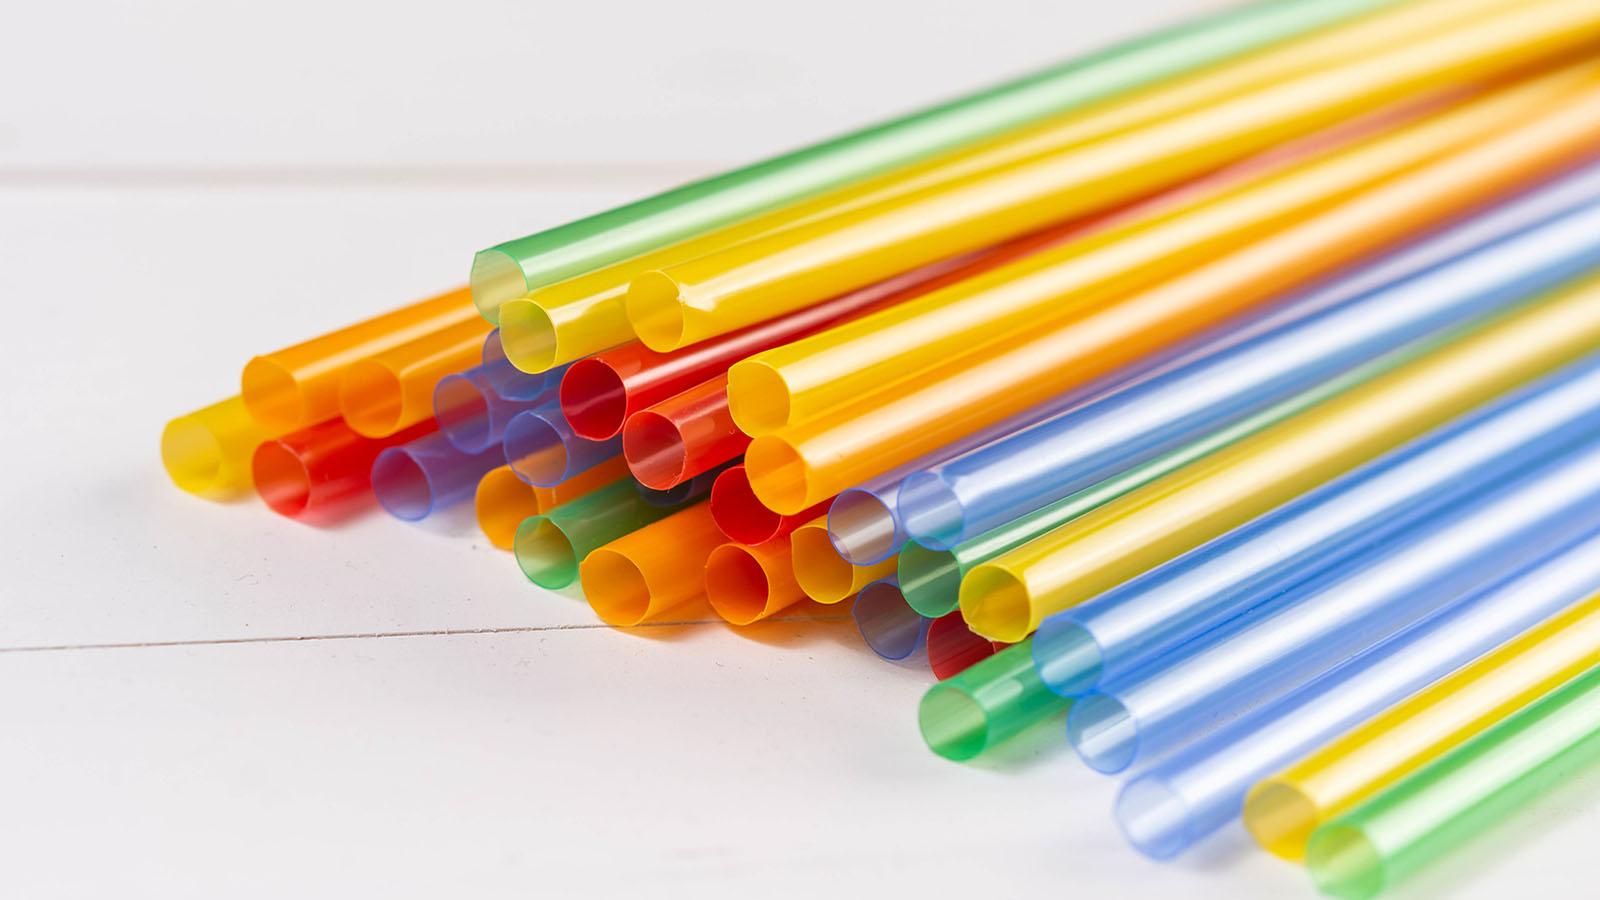
- Step 1: Choose a sturdy straw (plastic or metal works best).
- Step 2: Insert the shoelace end into the straw. A little tape can help secure the fit.
- Step 3: Guide the straw through each eyelet, pulling the lace through with it.
- Step 4: Remove the straw and admire your perfectly laced shoes.
but how does this trick really stack up? Let’s explore a real-world performance comparison of shoe lacing methods.
| Method | Speed (per shoe) | Eyelet Frustration |
|---|---|---|
| Traditional Lacing | ~60 seconds | High |
| Straw Method | ~30 seconds | Low |

Choosing Your Straw From Sip to Slip Knot savior
Sip to Slip Knot Savior
forget fumbling with laces like a toddler discovering gravity. The humble drinking straw - yes, that plastic (or paper, or metal!) tube designed for smoothies – is about to become your personal shoe-lacing superhero. Think of it: no more wrestling with stubborn aglets (the fancy name for those plastic or metal lace tips).This isn’t just a hack; it’s an evolution. Prepare to lace up your life, one straw-assisted loop at a time. Consider it a secret weapon, a MacGyver-esque solution to a problem you didn’t even realize you had!
The method is disarmingly simple. First,thread the shoelace end through the straw. then, guide the straw meticulously through each eyelet as you would the shoelace tip alone. Pull the straw out once the lace has passed through the eyelet, and repeat. No more struggling to push those frayed ends through tiny holes. Select your weapon of choice; plastic, paper or metal. Here are some of the straw features:
| Straw Type | Pros | Cons |
|---|---|---|
| Plastic | Durable, readily available | Environmentally unfriendly |
| Paper | Eco-amiable | Can get soggy, less durable |
| Metal | Very durable, reusable | Can be more expensive |
Why does this work so well? It’s all about leverage and that ever-useful principle of physics – reducing friction. The straw acts as a smooth, rigid guide, transforming a tedious task into a surprisingly satisfying one. Your fingers will thank you, your shoes will be perfectly laced, and you’ll have unlocked a party trick worthy of a standing ovation (or at least a knowing nod of approval from fellow shoe-tying sufferers). Now you can use this trick for more than shoe lacing. Take a look at these option uses:
- Drawstrings: Replacing drawstrings in hoodies or pants.
- Ribbons: Threading ribbons through craft projects.
- Cords: Guiding thin cords through tight spaces.
Threading Made Effortless A Smooth Path to Secured Soles
`
Tired of wrestling with shoelaces? Do your fingers ache after a especially intricate lacing job? Say goodbye to frustrating knots and hello to a surprisingly simple solution: the humble straw.Yes, you read that right! This everyday item isn’t just for sipping your favorite beverage, it’s also your new best friend for effortlessly threading laces through even the tightest eyelets.
`
`
The secret lies in the straw’s rigidity and inherent hollow shape. By guiding the lace through the straw, you create a miniature tunnel, bypassing the frustrating friction that often makes lacing such a chore. Here’s a glimpse of potential benefits:
`
`
-
- `
-
- `
- Speed: Noticeably faster lacing.
`
`
-
- Precision: Easier targeting of eyelets.
`
`
-
- Comfort: No more sore fingers!
`
`
`
`
Don’t believe me? Here’s a quick comparison:
`
`
“““`
“
“
`
“
“ “ “
“
“
`
““
“
“
`
“
`
| Method | Frustration Level | Time |
|---|---|---|
| Traditional Lacing | High | Moderate |
| Straw Technique | Low | Fast |
`

Optimize Your Technique Beyond Beginner Speed
You’ve mastered the bunny ears and the loop-swoop-and-pull. But let’s be honest, we all have those mornings where even the simplest tasks feel like climbing Mount Everest. What if I told you there’s a secret weapon hiding in your kitchen drawer, ready to turn your daily shoe-lacing ritual from a chore into a sleek, efficient operation? Forget fumbling with slippery laces; it’s time to embrace the power of the humble straw! Think of it as a tiny, plastic Jedi master, guiding the laces with unseen Force. This simple trick will not only shave precious seconds off your routine,but it will also impress your friends with your newfound lace-ninja skills.
So, how does this sorcery work? The principle is wonderfully straightforward. Thread one end of your shoelace through the straw, creating a makeshift needle. This instant,rigid guide neatly navigates through even the tightest eyelets,eliminating the frustration of frayed ends and stubborn loops. No more stabbing at the holes with your lace, hoping for the best. Just smooth, effortless threading. consider these benefits:
- Speed: Significantly reduces lacing time.
- Precision: accurately guides the lace through eyelets.
- Convenience: Straws are readily available.
- Protection: Prevents lace fraying during threading.
Want to see this astonishing strategy in action and find out how it compares with more conventional approaches? Check it out in the table below. Prepare to have your lacing world revolutionized!
| method | Fray Prevention | Speed Rating (1-5) | Skill Level |
|---|---|---|---|
| Finger Threading | Low | 2 | Beginner |
| Straw Method | Medium | 4 | Intermediate |
| Lace Needle (advanced) | High | 5 | Expert |
Straw Lacing Troubleshooting Tips for Common Hurdles
So, you’re ready to ditch the bunny ears and embrace the straw-laced look? Fantastic! But what if your laces are fighting back? Don’t fret! Let’s tackle some common snags. First, lace thickness. Super thick laces can be a pain to thread through the straw. Try thinner laces or a wider straw. Next, the straw’s integrity. A crumpled or bent straw is your enemy. Ensure your straw is sturdy and smooth. And keep the straw in place as you lace.If the straw moves too much, it makes the whole process difficult. You can use tape to keep it in place.
Another common hiccup is the dreaded lace bunching. This happens when the lace gets tangled inside the straw. Here’s a breakdown of solutions:
- Use a thinner straw. This will compress the lace slightly, making it easier to move through the eyelets.
- Pull the lace slowly and steadily. Avoid yanking, which can create knots inside the straw.
- Try a shoe that is easy to lace. Shoes with large eyelets or a simple lacing pattern are best.
For more complex issues, let’s consult the troubleshooting table:
| Problem | Possible Cause | Solution |
|---|---|---|
| Lace Snapping | Old/weak Laces | Replace laces |
| Straw Bending | Too much pressure | Grip lighter |
| lace won’t budge | Obstruction in eyelet | Check for gunk |
Q&A
Okay, here’s a Q&A for an article about using a straw to lace shoes quickly, written in a creative but neutral tone:
Article Title: “Straw-some Shoe Lacing: A Life Hack that Ties Everything Together”
Q&A:
Q: Okay, I’m intrigued. A straw? To lace shoes? Isn’t that the kind of thing better suited for a juice box than a jogging shoe?
A: We understand the skepticism.It sounds a bit… odd. But trust us on this one. Just as a straw efficiently delivers your favorite beverage, it can equally efficiently guide a shoelace through those sometimes-stubborn eyelets.It’s a curiously effective shortcut.Q: Alright, curiosity piqued. But why use a straw? What’s wrong with fingers, the age-old lacing method? Are we declaring war on phalanges now?
A: No war declared! Fingers are still valuable assets. However, this straw technique becomes especially handy when dealing with tight eyelets, frayed lace ends, or for anyone who might have limited dexterity. It offers a smoother, less frustrating experience. Think of it as a little assist, not a replacement.
Q: So, tell me—what kind of straw are we talking? A flimsy, bendy thing from a fast-food joint, or a sturdy, reusable masterpiece? And will this hack fail if I only have a metal straw?
A: A classic plastic straw (like the kind that used to grace every milkshake) works best due to its slightly flexible yet sturdy nature. Reusable plastic straws are fine too! we found that metal straws can also work, although the rigid, sharp edges of the metal may fray your laces and also make it more difficult.
Q: Let’s say I try this and completely fail. My laces are tangled, my shoe resembles a chaotic yarn explosion, and I’m late for my important meeting. Are you going to take duty for my fashion emergency?
A: Haha. While we can’t guarantee lacing perfection on your first try (practice makes perfect!), we stand by the technique. The key is to take it slow and use a smooth, steady motion. And perhaps practice on a less crucial pair of shoes first? Maybe not the ones for your critically important meeting. Consider us your lacing coaches, not your scapegoats!
Q: This sounds like a clever trick, but I’m still concerned about waste. What happens to the straw afterward? Am I just contributing to the plastic crisis of our time with every laced shoe?
A: Excellent point! We encourage you to repurpose that straw. Wash it and keep it in your shoe-lacing kit (yes, you might want to start one!). Or even better, opt for a reusable straw to begin with. The goal is efficiency and responsibility.
Q: Okay, I’m convinced enough to try it. Any final words of straw-some wisdom before I embark on this lacing adventure?
A: Remember to keep the straw at a slight angle as you push it through the eyelet for easier gliding. And don’t be afraid to experiment with different straw thicknesses to find what works best for your laces and shoes.
Q: What shoes might this not work on?
A: It effectively works on most athletic shoes and sneakers, but you’ll find it challenging for shoes with very small, oddly-shaped eyelets, or shoes with decorative elements that interfere with the straw’s movement.
Q: What laces work best for this method?
A: Flat laces or laces with reinforced tips work best. Laces with frayed ends can still be used, but it’s recommended to use a lighter to smooth the ends so they don’t get snagged on the straw.
Hope this helps! Let me know if you’d like any adjustments or further questions.
Insights and Conclusions
So there you have it! The humble straw, once a vehicle for your favorite beverage, now a champion of expedited shoelace threading. give it a whirl! You might find yourself surprisingly liberated from the knotty grip of traditional shoe-tying, and empowered to seize those precious extra moments. Who knew a simple sip could lead to a swift step? Now, go forth, lace up, and conquer the world… one straw-assisted eyelet at a time.